Getting started with an earthli Application
 (1) Log in
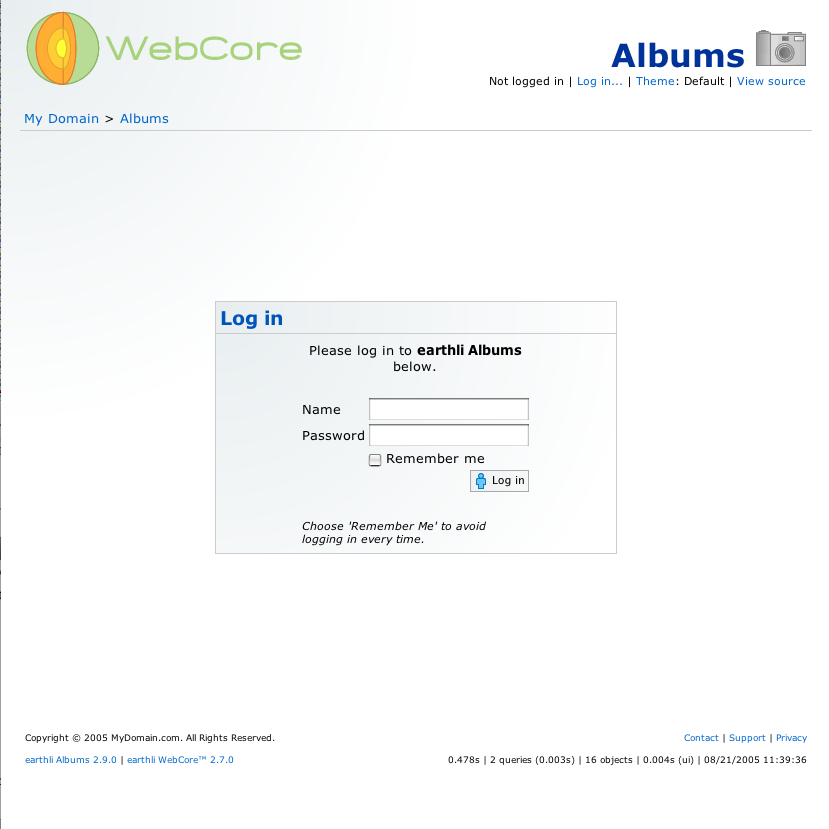
Browse to the folder into which you installed your earthli application. You will be redirected to a login page.
- Log in using the name ‘root’ and password ‘password’.*
*Use your own name and password if you changed them using the instructions in users and logins.
(2) Application home page
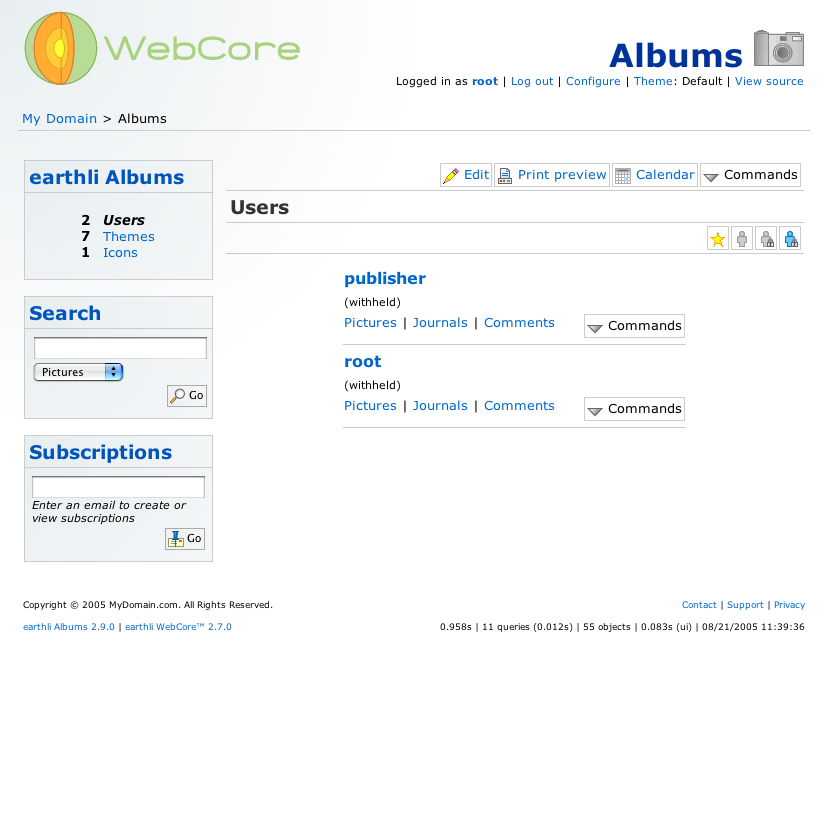
Now that you are logged in, you can see the home page for your application. Before you start creating do anything else, you should change the password for your root user.
- Click ‘root’ in the “Logged in as root” link on the top right of the page.
(3) Root user home page
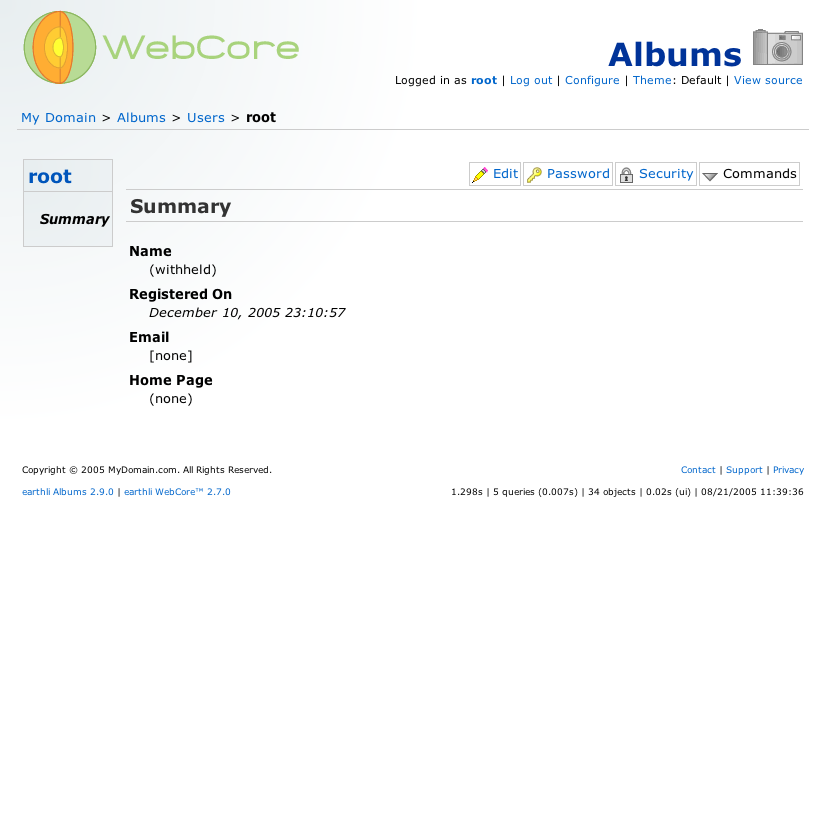
Each user has a home page, from which you can adjust preferences and see content created by that user.
Let’s change the password for the root user to make the web application secure.
- Click the
![[Key]](/resources/icons/webcore_png/buttons/password_16px.png) in the toolbar (on the top right).
in the toolbar (on the top right).
(4) Change password
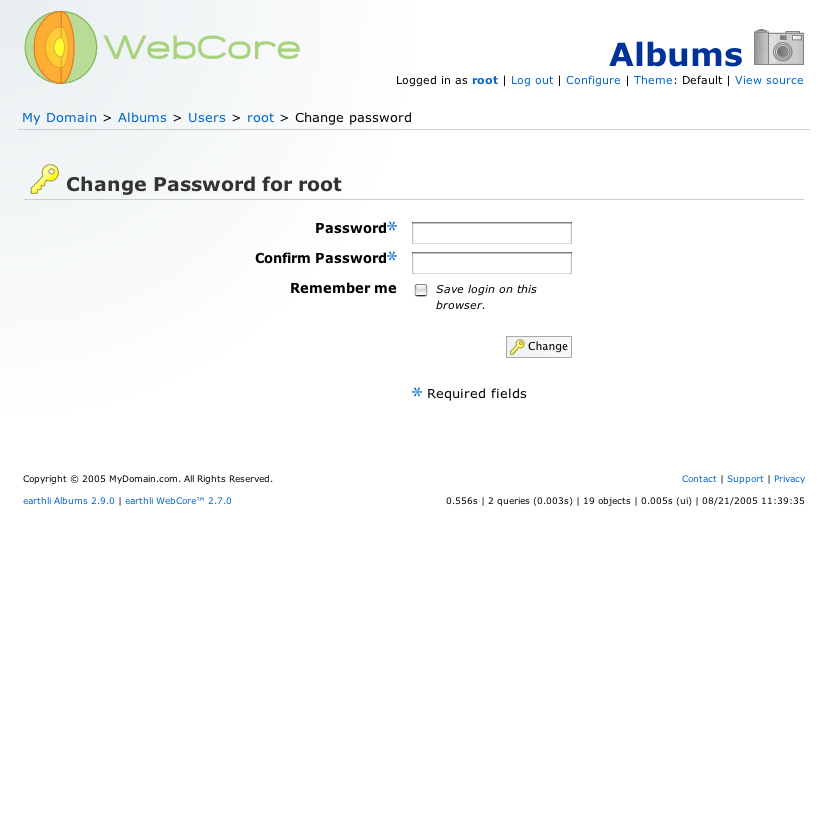
Select a new password for your root user. This user has rights to alter and update everything in your web site, by default. Choose a good password.
- Click ‘Change’ to save the new password and return to the root user home page.
(5) Root user home page (password changed)
We’re back on the user home page. Before you start creating any content, you should make a non-root user for yourself. The root user should only be used for administration.
- Click ‘Users’ in the list of links at the top left.
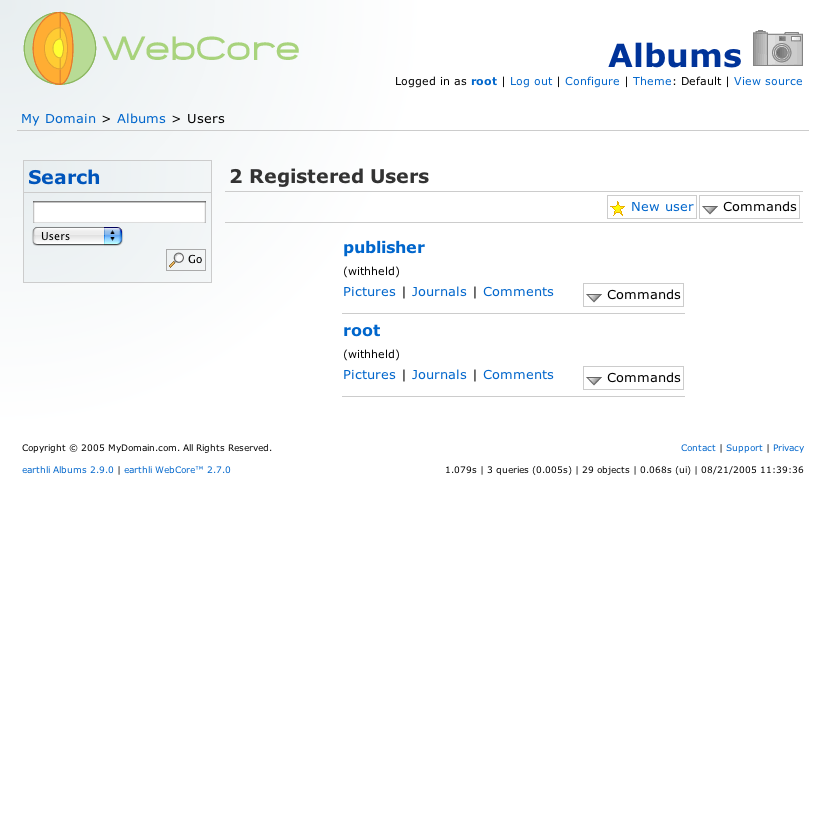
(6) User list
This is the list of users registered for this application; you saw the same list on the application home page when you first logged in. You can create a new user from here.
- Click the
![[Star]](/resources/icons/webcore_png/buttons/create_16px.png) in the toolbar.
in the toolbar.
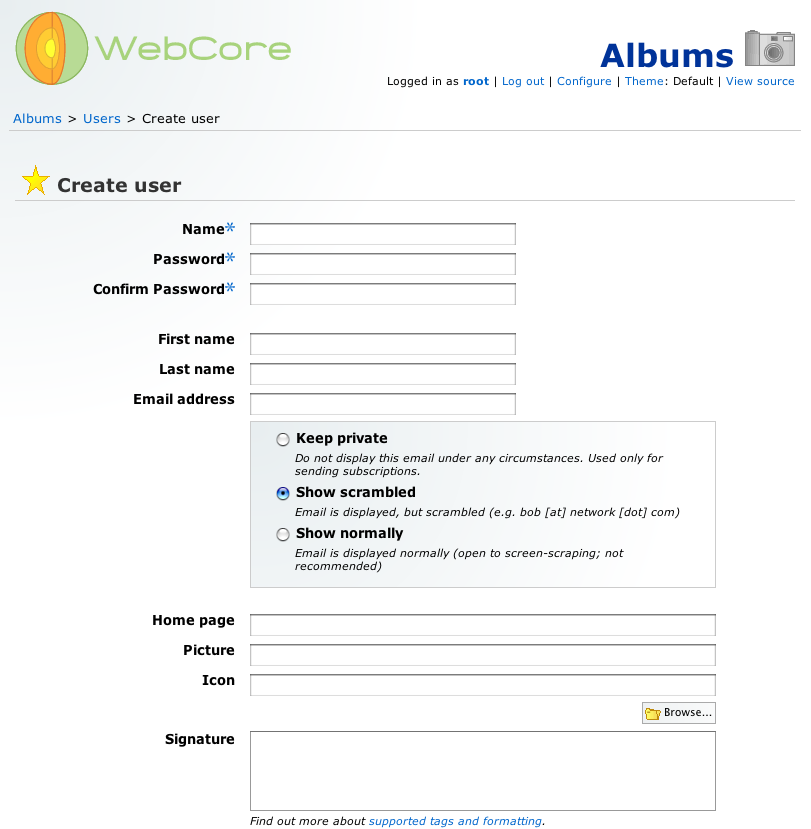
(7) Create a user
Here’s where you create a basic user to work with your WebCore applications.
- Fill in the name and password fields and click ‘Create’.
This user inherits the default rights for all registered users. You can always change these global permissions from the user’s home page using the root user. See the WebCore security model for more information.
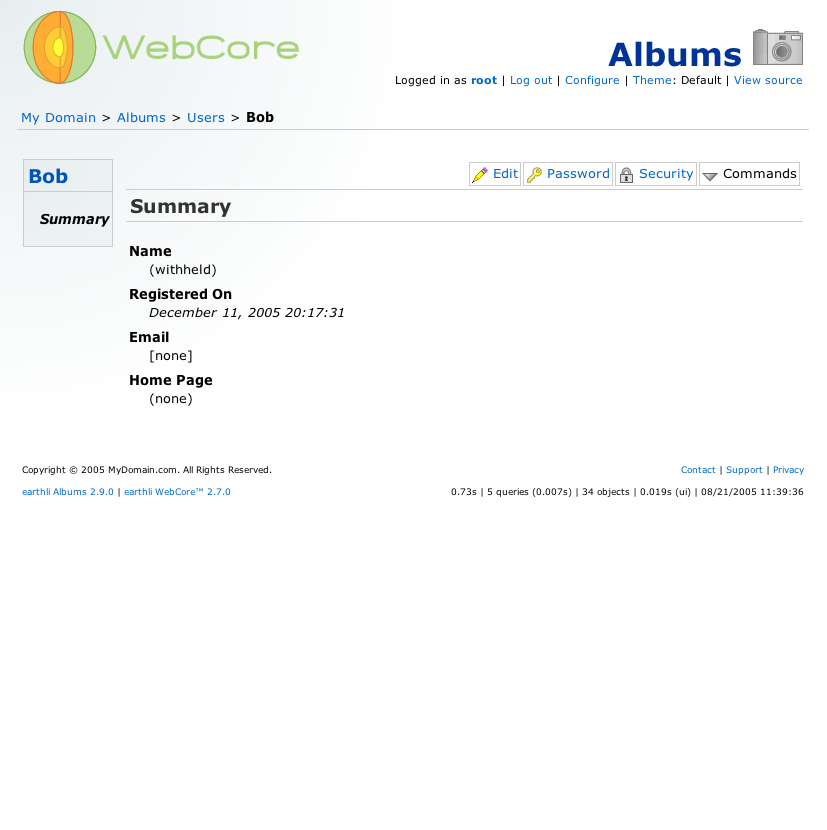
(8) User home page
You are redirected to the home page for the user you just created. Nothing much going on here yet, so let’s finish setting up the application.
- Click ‘Albums’ in the list of links on the upper left.
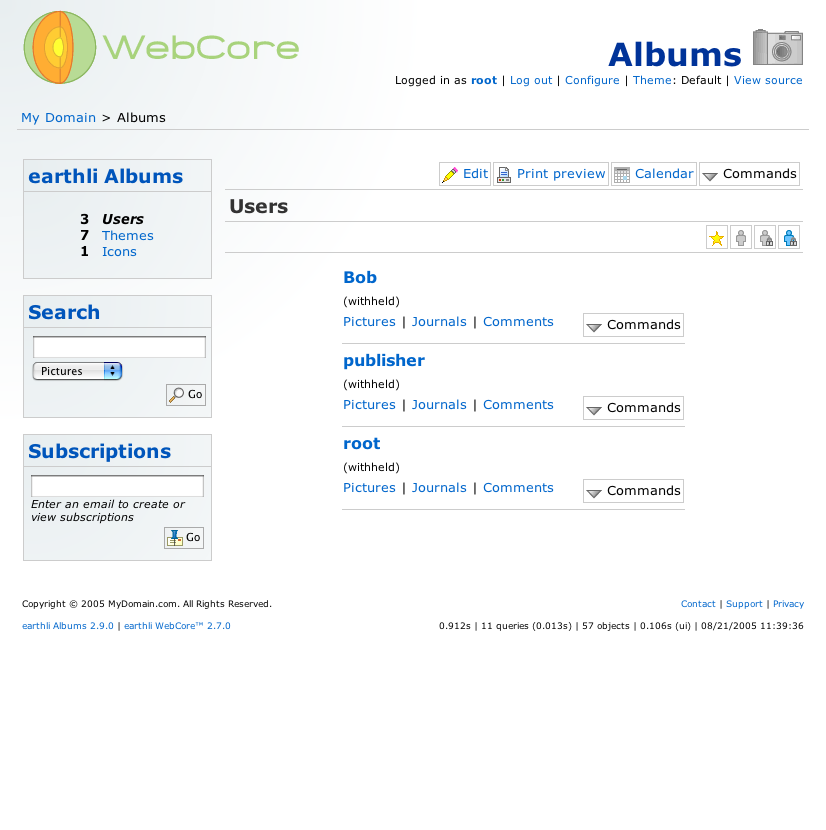
(9) Application home page (user created)
You’re on the application home page again. This time, there are three users listed.
Now we want to grant this user rights within this application.
- Hover your mouse over the “Commands” button next to the “Calendar” button on the upper right.
- Click the
![[Lock]](/resources/icons/webcore_png/buttons/security_16px.png) in the popup menu.
in the popup menu.
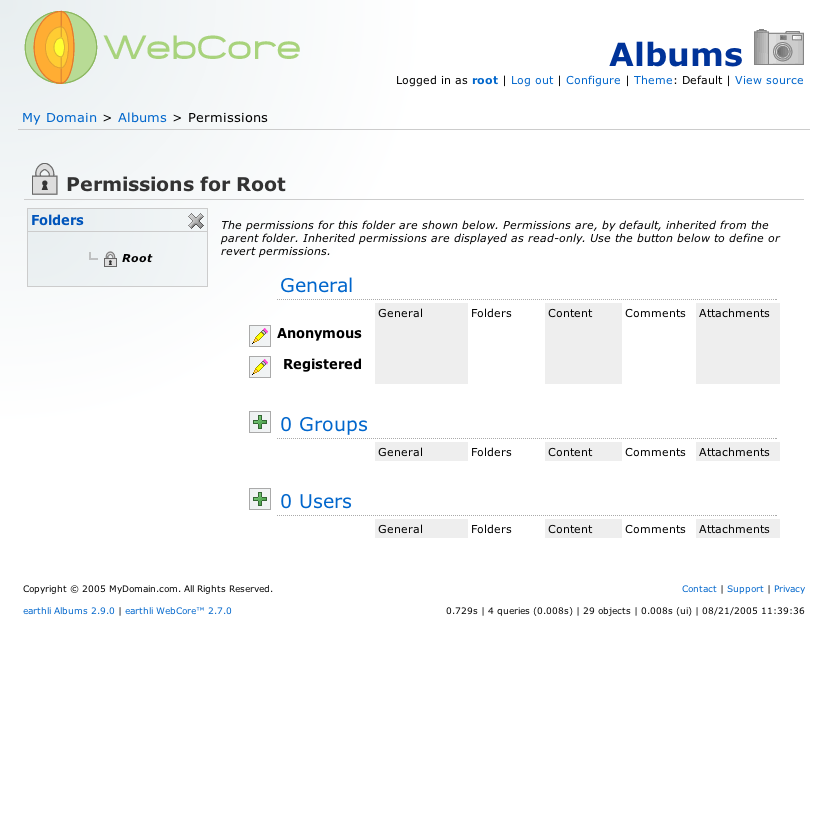
(10) Security settings
The default security settings allow no access for any users. The root user has access because it has user permissions that override content permissions. See the WebCore security model for more information.
Let’s add permissions for this user to this application.
- Click the
![[Plus]](/resources/icons/webcore_png/buttons/add_16px.png) next to ‘0 users’.
next to ‘0 users’.
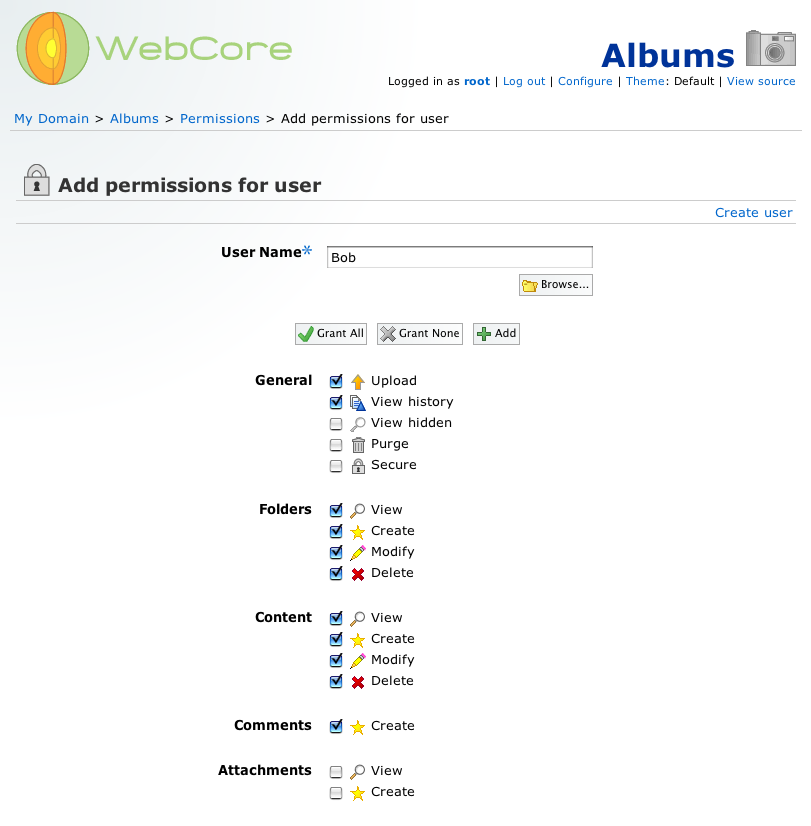
(11) User permissions
Select rights for this user. The screenshot shows a moderator-type user, who has rights to create/delete/edit content, but cannot change permissions or purge from the database.
- Click ‘Add’ to create these permissions and return to the security settings page.
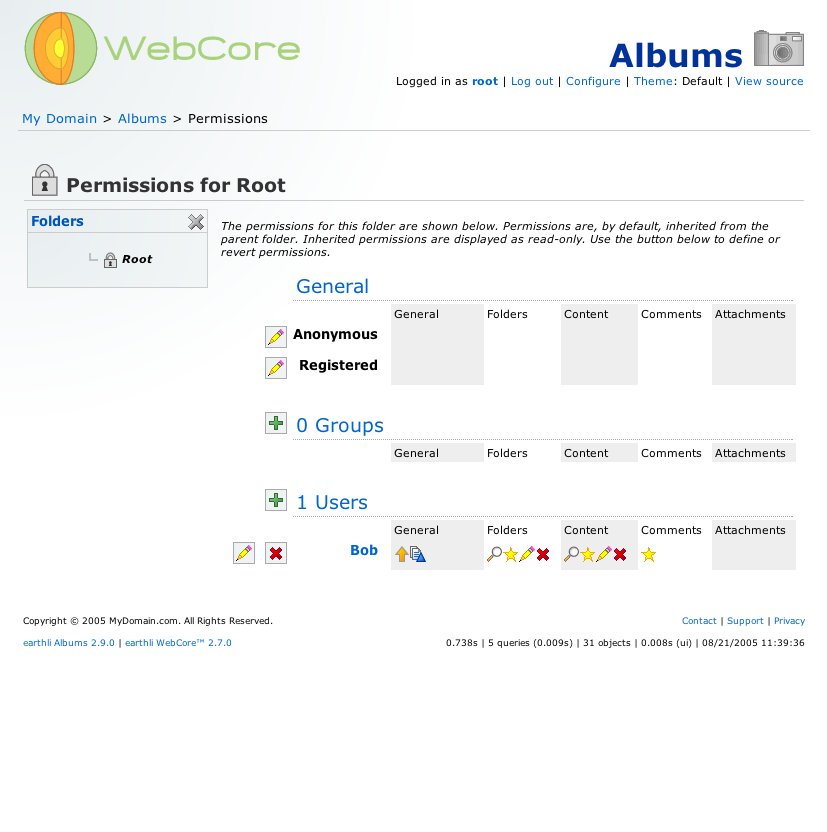
(12) Security settings (user permissions added)
You should see the user you created in the list now, with icons representing the rights you chose. Other registered and anonymous users still have no access to this application, though.
Let’s give browsing access to all users.
- Click the
![[Pencil]](/resources/icons/webcore_png/buttons/edit_16px.png) next to ‘Anonymous’.
next to ‘Anonymous’.
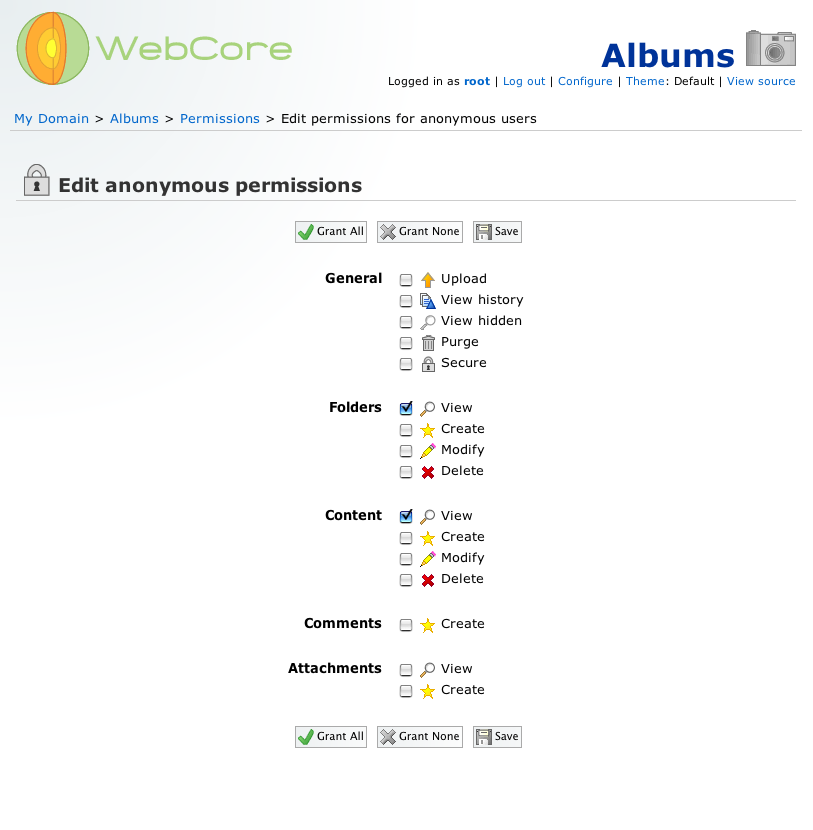
(13) Anonymous user permissions
Select only the ‘View’ rights for this user, as shown in the screenshot.
- Click ‘Save’ to set the anonymous permissions and return to the security settings page.
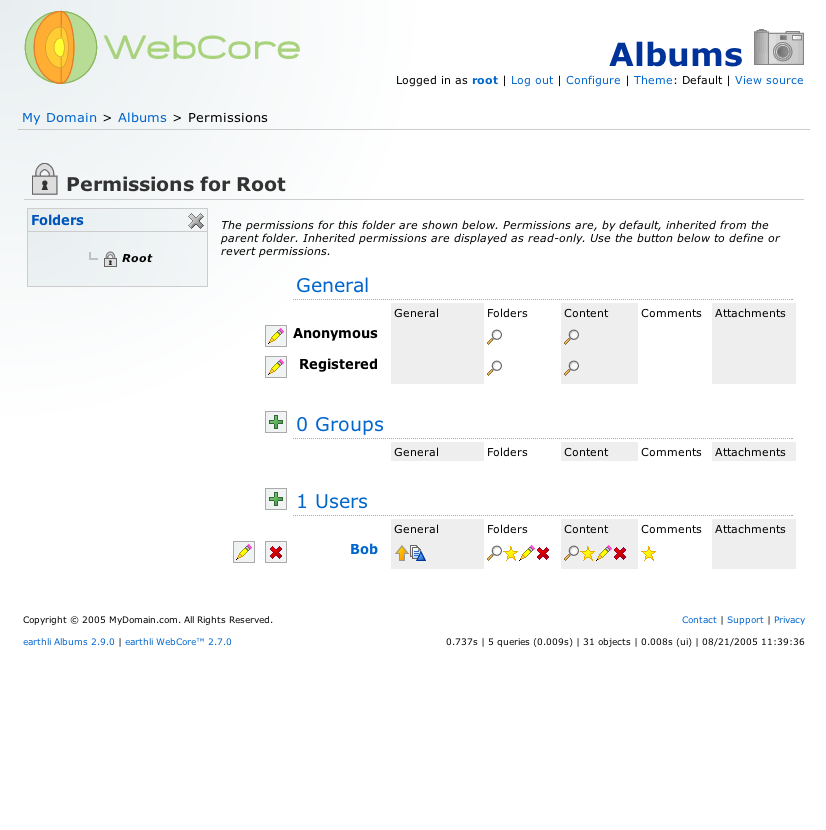
(14) Security settings (all permissions added)
You’re back on the security settings page. Users who aren’t logged in can now see content in your application. Repeat the last two steps with the ‘Registered’ permissions to give the same rights to all logged-in users.
When you’re done, your settings should look like those in the screenshot.
Finally, let’s test our new user.
- Click ‘log out’ in the list of links at the top right of the page.
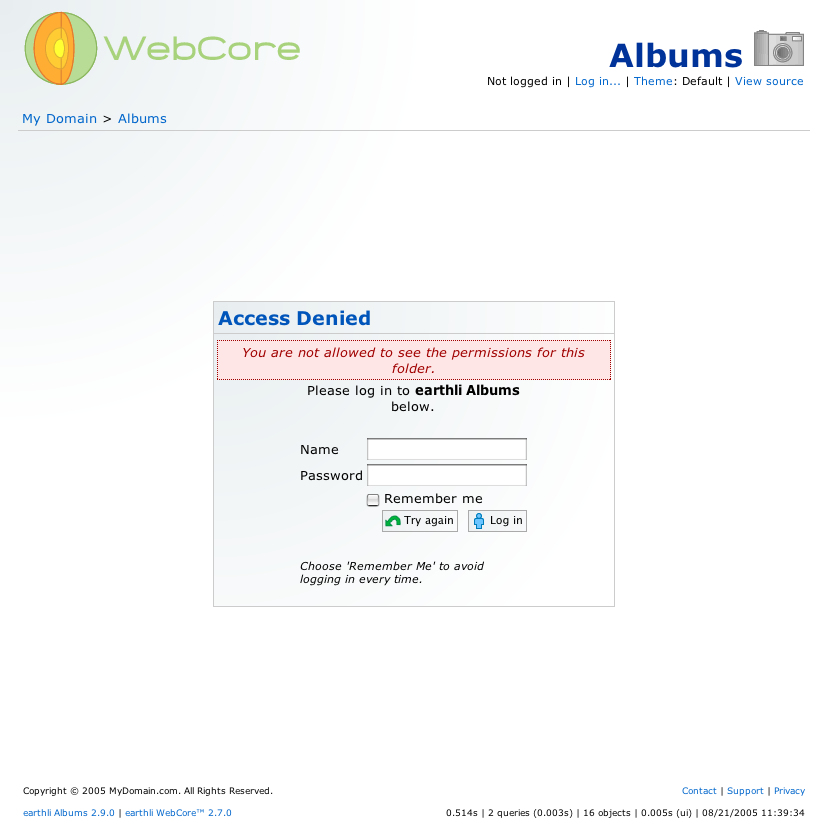
(15) Access denied!
Don’t panic! The WebCore simply tries to return to the last page you were on when you log out. If you don’t have rights to see that page, you get an ‘access denied’ message.
Anonymous users don’t have rights to edit application security, so you’re redirected to the login page with an error message.
- Log in using the name and password you created earlier.
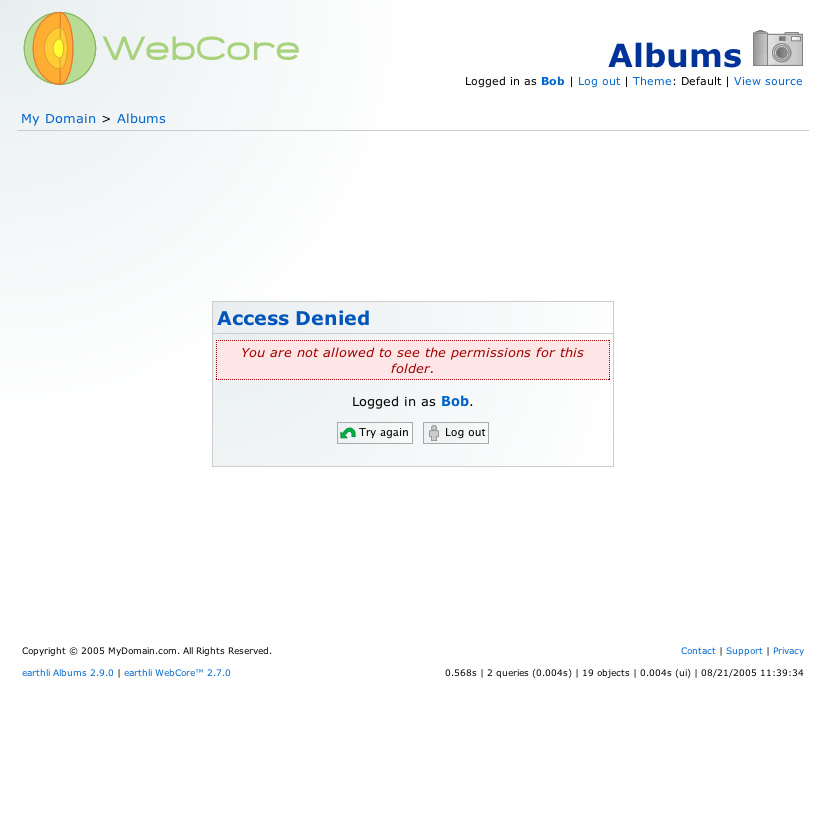
(16) Access denied! Again!
Remember that you also did not assign security rights to your user. That means that your user also can’t be redirected to the security settings page and has access denied.
If you don’t get this error message, you assigned security permissions to your user. Go to the next step.
- Click ‘Albums’ in the list of links on the top left to go to the application home page.
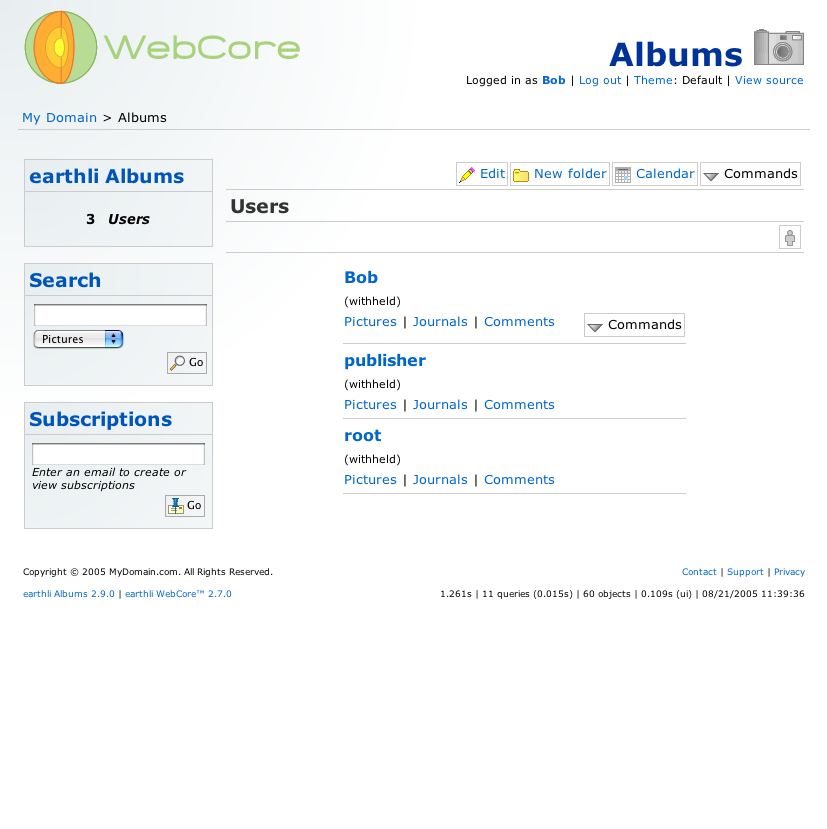
(17) Logged in
If you look at the top right of the page, you’ll see that you’re finally logged in as the user you created. Now, let’s get this application ready to create some content. The root folder in an application cannot contain content, so we’ll have to create a sub-folder.
- Click the
![[Folder]](/resources/icons/webcore_png/buttons/new_folder_16px.png) in the toolbar.
in the toolbar.
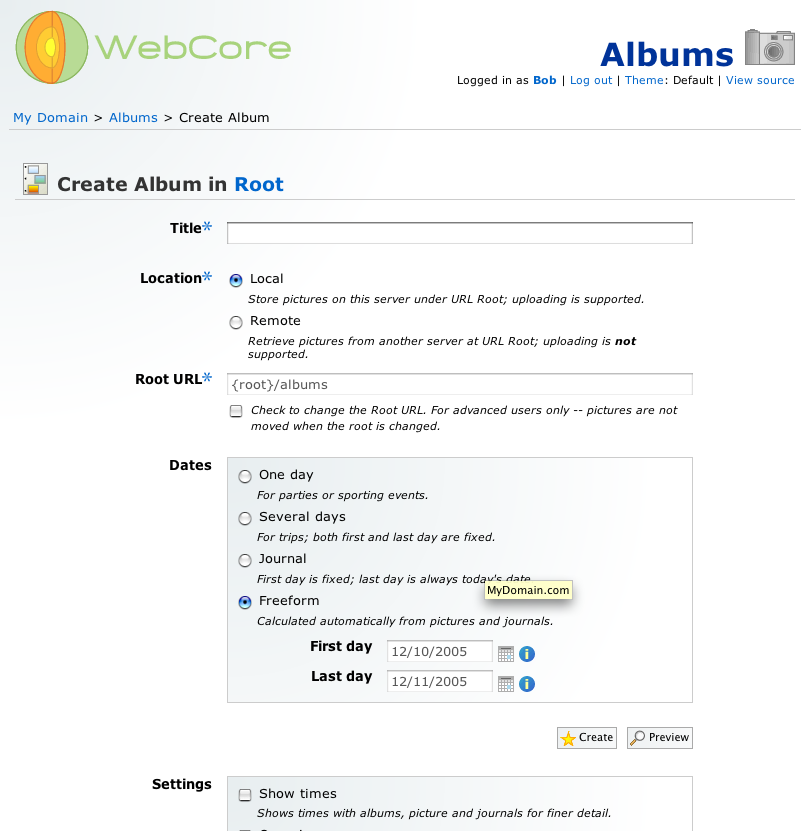
(18) Create a folder
Now here’s where it gets a little application-specific. The screenshot shows the form for creating a new ‘album’; other applications will look slightly different. Simply fill in all required fields (those marked with ![]() ).
).
- Click ‘Create’ when you’ve completed the form.
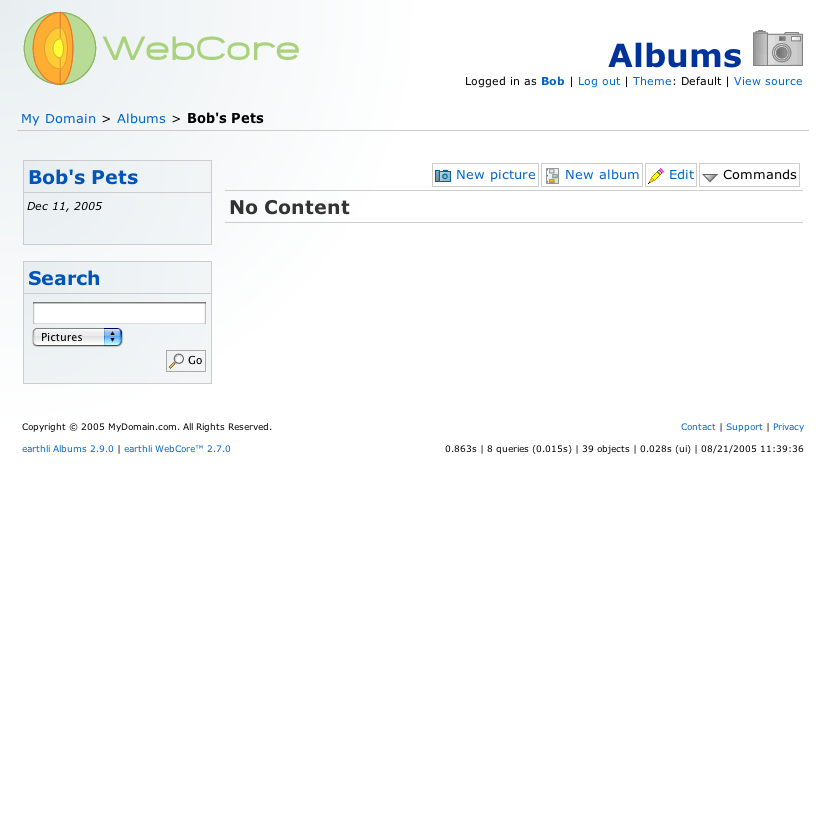
(19) Folder home page
You should end up on the home page for the folder you just created. The buttons all the way to the right in the toolbar create objects in that folder.*
If you have any questions, please let us know. Enjoy!
*In the screenshot, you see the icons for Albums, where you can create a picture or a journal; more commands are available from the drop-down list under “Commands”.