This is part three of the Tutorial.
Once again, you should be in the Unmatched view. You'll notice that there are four songs remaining that TuneSync could not match exactly. Though you can match against selected items, you'll usually just match all items in this view.
- Press the "Match All" button in the toolbar; TuneSync shows the Match Options Window.
- In this case (as in most), you should just use the defaults, "Match Letters and Numbers, ignoring case" and Artist, Album, and Genre are set to Use if Available.
- When you press Ok, TuneSync displays the Match Results Window, as shown below.
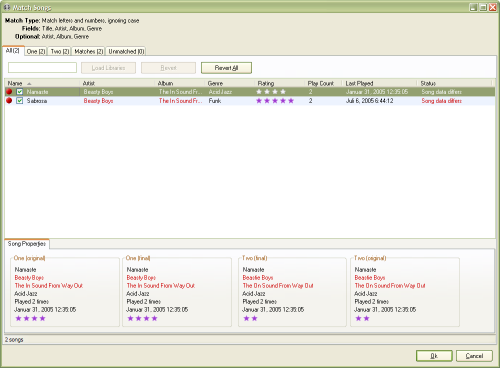
'Sabrosa' and 'Namaste' Match Results
As you can see, TuneSync matched the songs despite the fact that both the artist and album are spelled differently in the two libraries. Though you can do almost everything from the match window that you can from the main window, you'll usually just verify the songs to make sure that there are no bad matches, then press Ok to continue.
At this point, you should see no more unmatched songs.
- See also:
- Prev: Using the Best Matches View
Next: Synchronizing Songs