(4) How to edit a picture
Published by marco on
This article is part (4) of a multi-part earthli Albums tutorial.
Editing an existing picture is a snap; if you don’t have any pictures yet, check out how to add a picture first. Let’s continue from where we left off in the browsing tutorial with the Galapagos home page, as shown below:
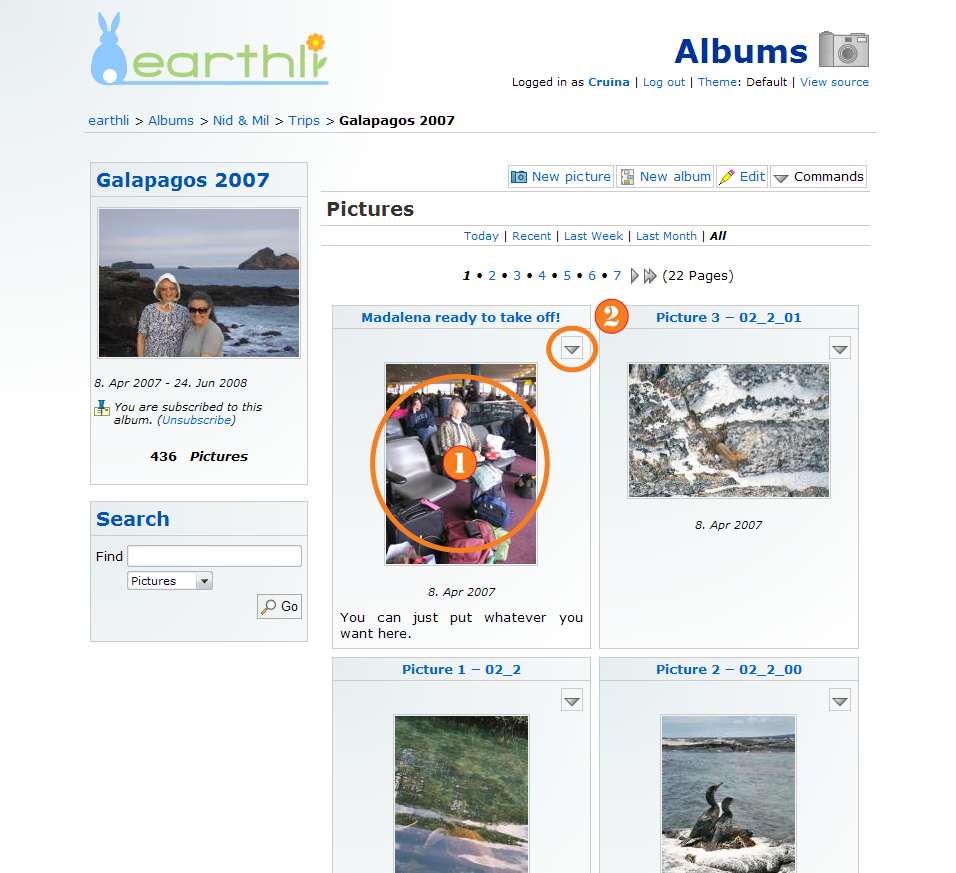 Galapagos Home Page (click to enlarge)
There are two ways to edit a picture: from its home page or from a drop-down menu that pops up when you hover the mouse over the triangle next to a picture (2). If you’re editing a lot of pictures, it’s probably more convenient to use the drop-down menu (2), but let’s take a look at how to edit from a picture’s home page.
To get to a picture’s home page, just select a picture (1); you’ll be taken to a page showing a large version of the picture on its own page, as shown below:
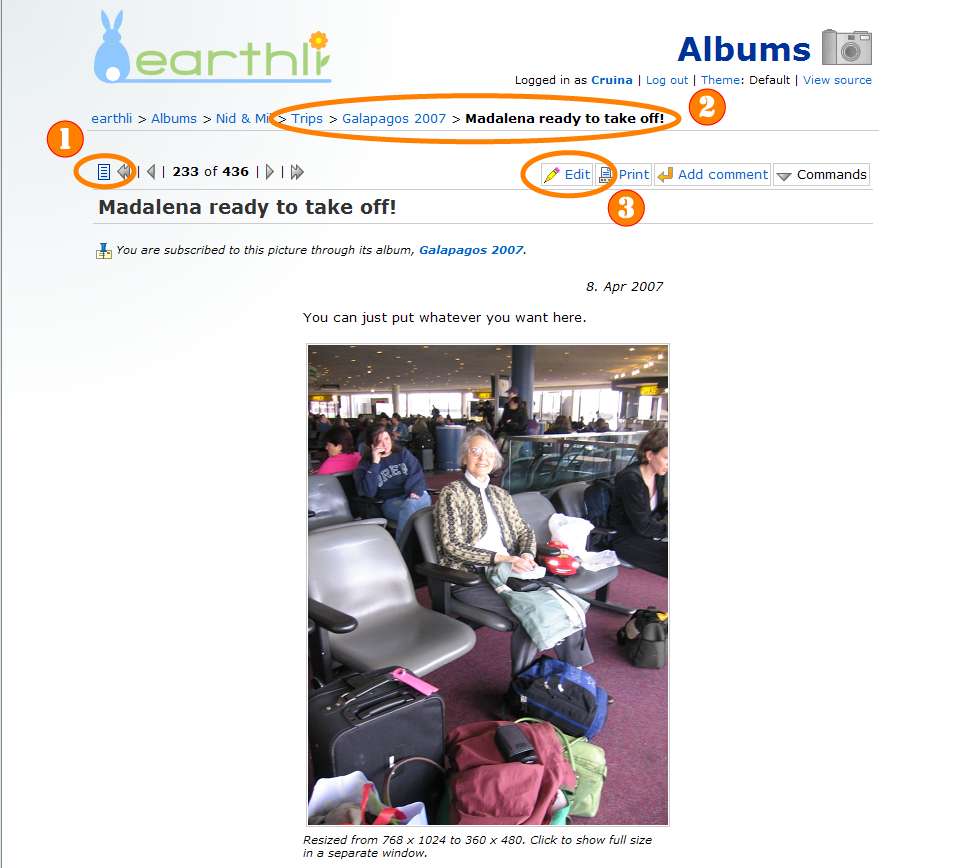 View Picture (click to enlarge)
From here, press the “Edit” button (3) to open the editor for the picture, as shown below:
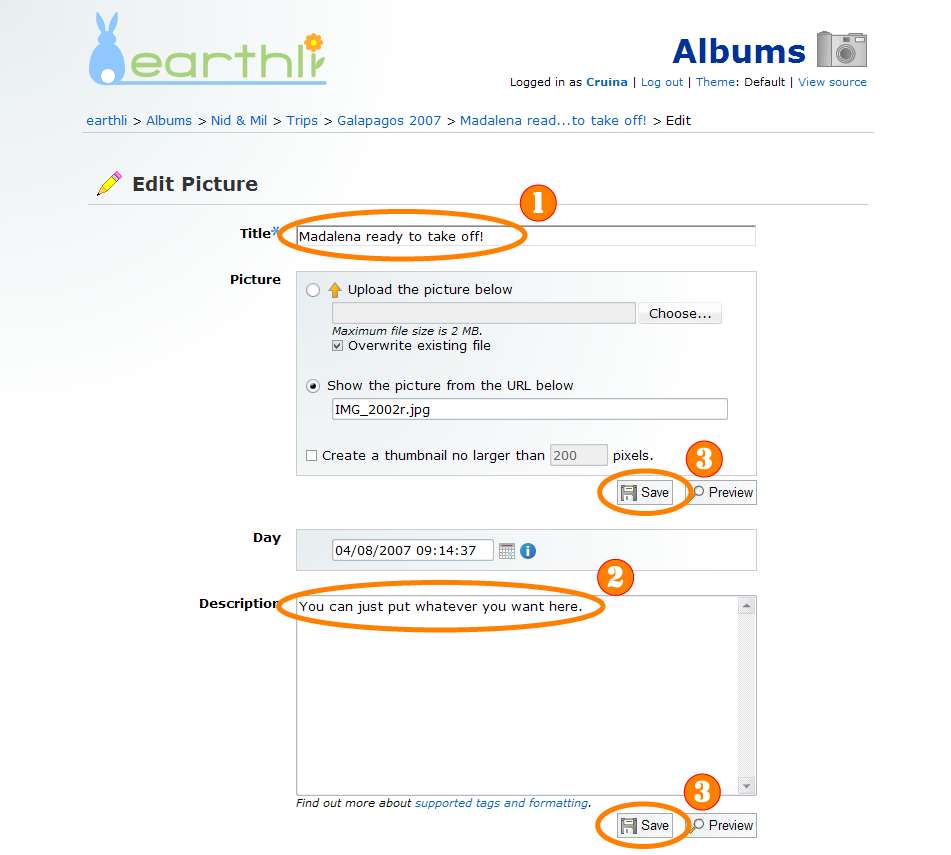 Edit Picture (click to enlarge)
Here, you can change the title (1) and the description (2); from here, you can also change the date and time or upload a new picture, if you like. When you’re finished, press one of the “save” buttons (3) to save changes and return to the picture’s home page. If you want to see your changes before saving, press one of the “Preview” buttons; you will get something like the following page:
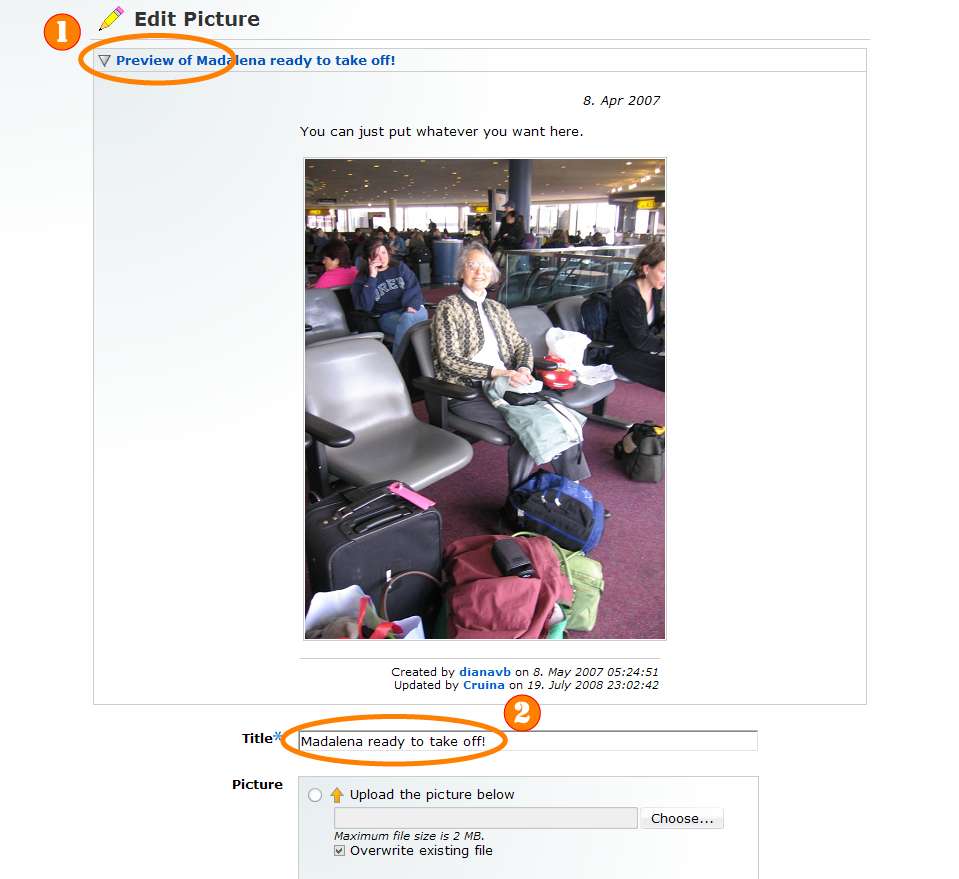 Edit Picture with Preview (click to enlarge)
You can select the little triangle (1) next to the preview to hide it or just scroll down to continue making changes (2). When you’re finished, press the “Save” button to save changes and go back to the album.
Continue on to (5) How to edit an album.