(4) How to Add a Book
This article is part (4) of a multi-part Book Library tutorial.
When you start the Book Library, you’re taken to the main menu, as shown below:
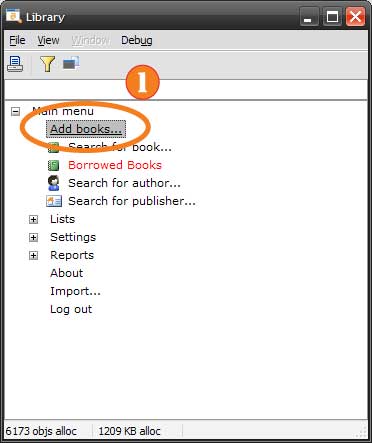 Choose Add from the Main Menu (click to enlarge)
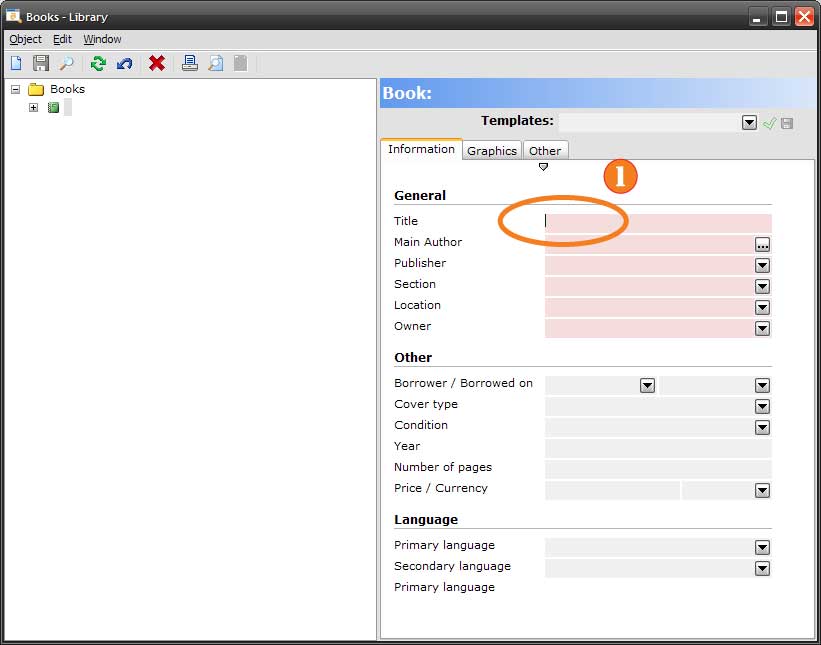
From here, choose “Add books” to show the window below:
 Adding a Book (click to enlarge)
This window is opened to a new book where you can start filling in the information for it (1). Fields in pink are required; those in grey are optional.
 Setting the Author (click to enlarge)
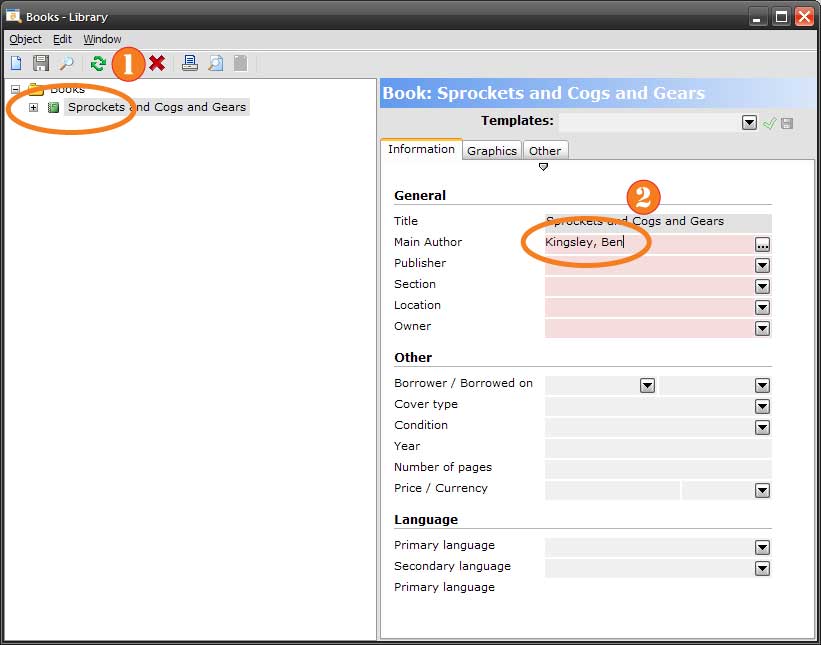
Once you’ve filled in the title, it’s copied to the list on the left side (1). Fill in the name of the author (2) and press tab or enter to continue. Since the author we chose in this example isn’t in the database, the Book Library offers to create a new one with the window below:
 Creating a new Author (click to enlarge)
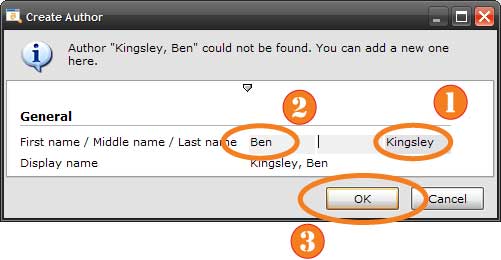
Since we typed the author as “Last name, first name”, the Book Library automatically extracted the first name (1) and last name (2) to suggest the author name to create. You can, of course, change it; when you’re finished, press “OK” (3) to continue. You’ll be returned to the book window, as shown below:
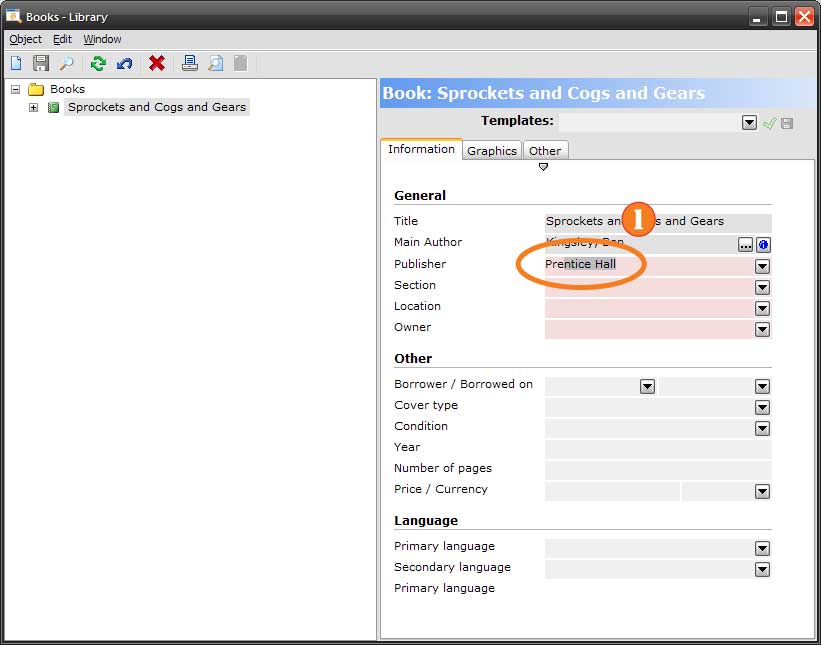 Choosing a Publisher (click to enlarge)
Since the title and author are now filled in, they are colored grey; above, we have typed “Pre” for the publisher and the Book Library has found “Prentice Hall” (1) as the best match for it. For more information about making similar changes, see How to Edit a Book. After you’ve filled in all the information for your book and saved it (using the “Save” button in the toolbar or by typing Ctrl+S), it should look like the window below:
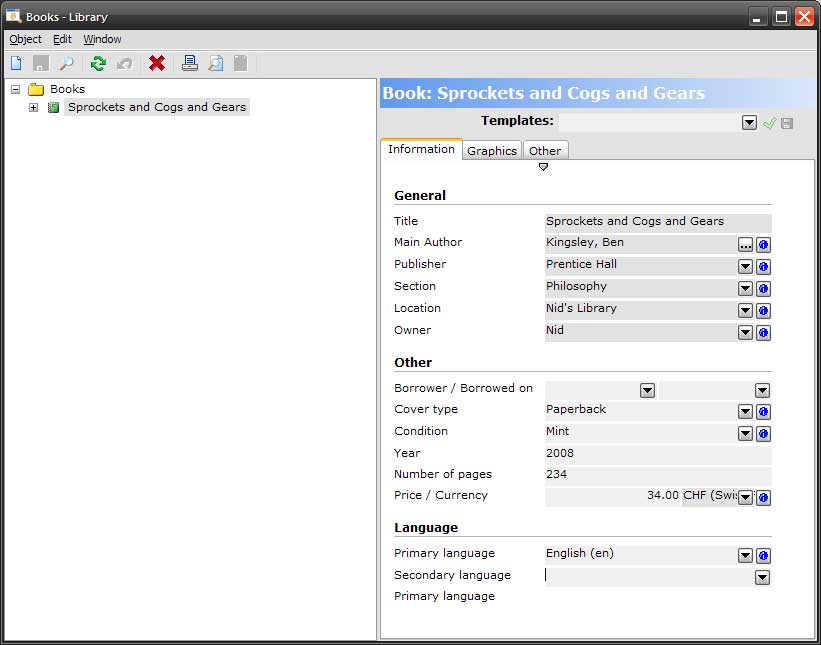 The Final Book, Saved (click to enlarge)
After you’ve added a few books, you might notice that you always fill out certain fields with the same information. You can tell the Book Library to pre-fill this information by (5) adding a Default Template.
Continue on to (5) How to Add a Default Template.